Login to your seller dashboard https://dashboard.mayzing.com
Navigate to 'Campaigns' from the left-hand navigation menu and click Create a Campaign
A pop-up will appear, prompting you to provide a name and URL for your campaign. The URL will match the campaign name by default, but you can customise it. Each campaign URL must be unique within your store.
Once you have added a name and URL, click Add Products
You will see a popup message confirming that the campaign has been created successfully.

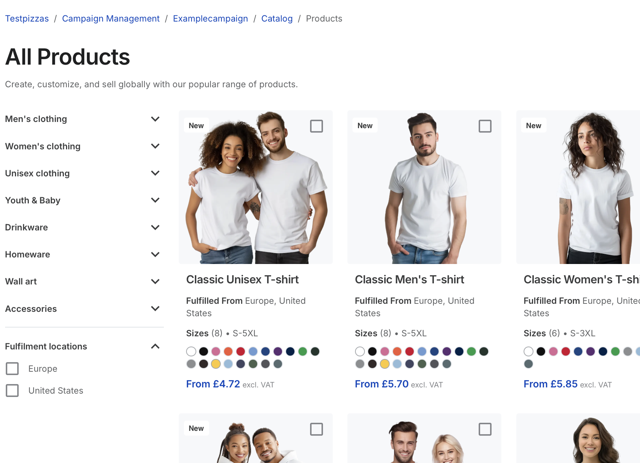
You will be taken to the next page, where you get to choose the products you wish to put your design on.
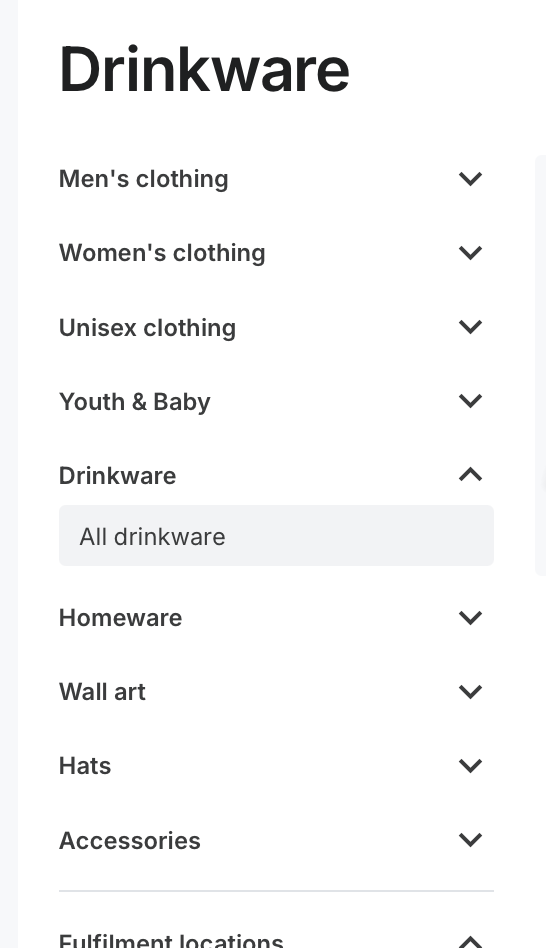
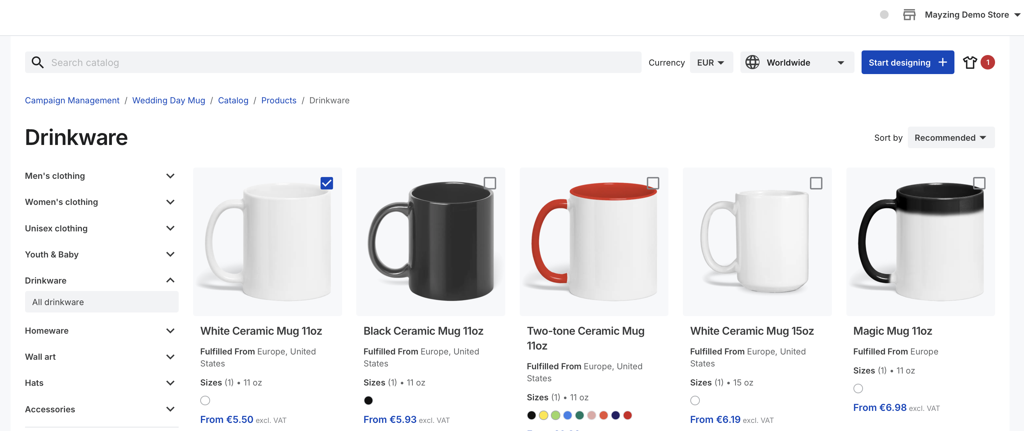
For the purpose of this document, we’ll select the White Ceramic Mug 11oz. Expand the Drinkware menu and click on all Drinkware.
Fill in the checkbox next to the product, and then click the Start Designing button in the top right.
You are now presented with a blank design for the product you chose in the previous step. There are several options here for you to add to the product. This guide is for creating a multi layered product with a Frame.
Now it's time to add the mask. Placing a hole in it in the shape of your choice, and making the background transparent. We have created one with a heart shaped hole. If you don't know how to create these, a tutorial can be found here or you can download some pre defined examples from our resource pack here. For this product you can only use the white frames.
Add an image layer.
Upload your transparent background image, and select that.
Drag and resize your image to the desired size and location.
Copy the layer, and move to the other side of the Mug
Press Add Another Layer and choose a Custom image layer.

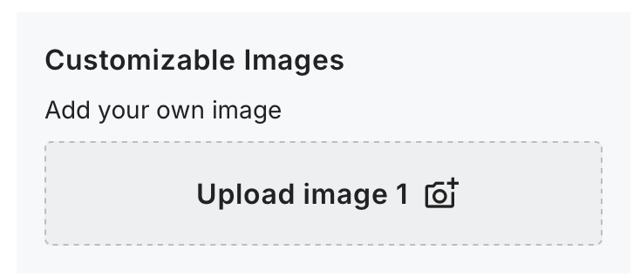
You can choose here whether to provide a prompt for your buyer. Such as “upload your photo here” If you want to do this you’ll need to turn the toggle on.
You can also select whether you want the mockup to have one of the following
An icon representing a photo
A blank space
A placeholder photo
In this instance we’re leaving it blank
Now scale the image layer. You need to ensure that it is smaller than the mask image you uploaded earlier.
If the custom image shows in from of your mask, you will need to reorder your layers. To do this Drag the layer in the right hand nav bar by clicking and holding on the 6 dots and then moving. The custom image layer should be below the mask layer.
Copy the layer, and place it behind the other frame
Once you are happy, press continue to pricing.

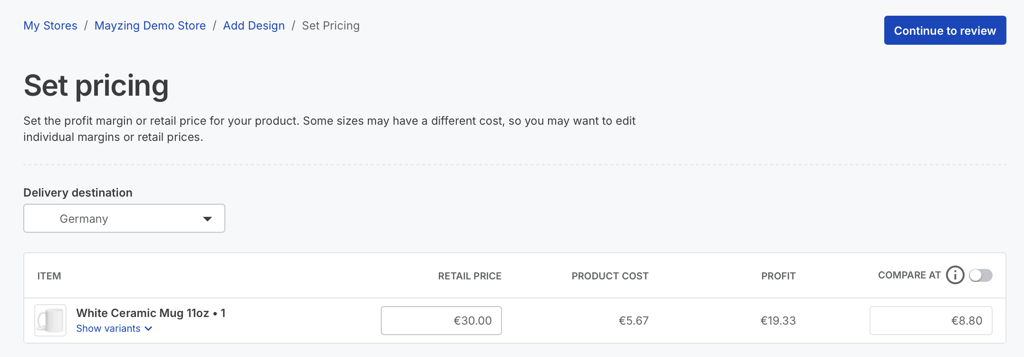
On the next screen, you can choose your retail price, which is the price your buyers will see on the store. You will not be able to set a price cheaper than the production costs of the product. Set it at a price you think people will buy at, while still making you a profit. Once you have set the price, press Continue to review.
The next screen where you can finalize how your product will look in your store.
Edit Mockups allows you to choose from all of our mockup, click on Edit mockups and select your main product, and any additionals you would like to show. Press save selection.
You will be returned to the previous screen. Give your product a name and a description, and then press save and continue.
You will get a popup to say it has been created successfully.

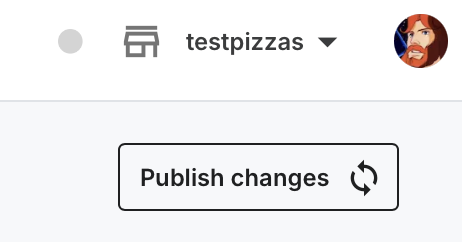
The only thing left to do now, is to publish your changes to your store. Press Publish changes in the top right of your screen.
You will get another confirmation

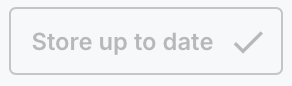
After a minute you will see the status changes to Store up to date.
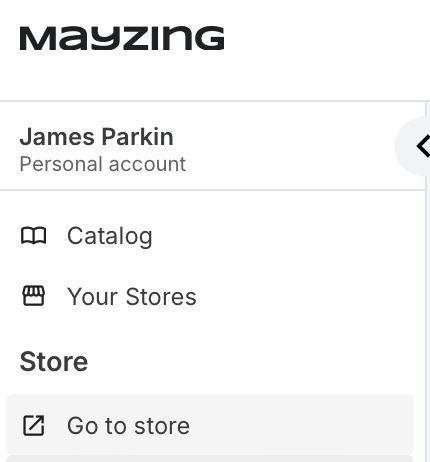
To see your new product in your store click on Go to store in the left navigation.
You can click in to the newly created campaign to see how it looks.
To test the image upload is working how you would expect it to work. Click on upload image.
Browse to an image on your device, and hit upload.
On the next screen you can crop and resize your image, once you are happy press continue.
Do this again for the second image layer.
The image will apply to the mockup on the screen.
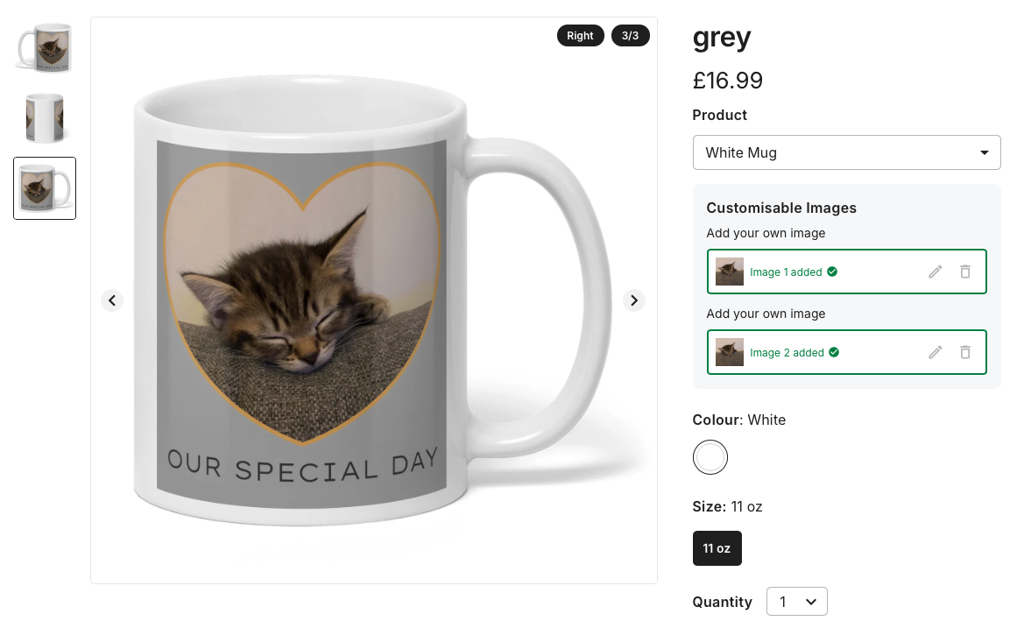
Your multi layered, framed, custom image product is ready to sell.
