The full list of products that work with a frame is here
Before you start, you’ll want to create your frames, a tutorial on how to do this can be found here. Or you can download and use our pre configured resource packs here.
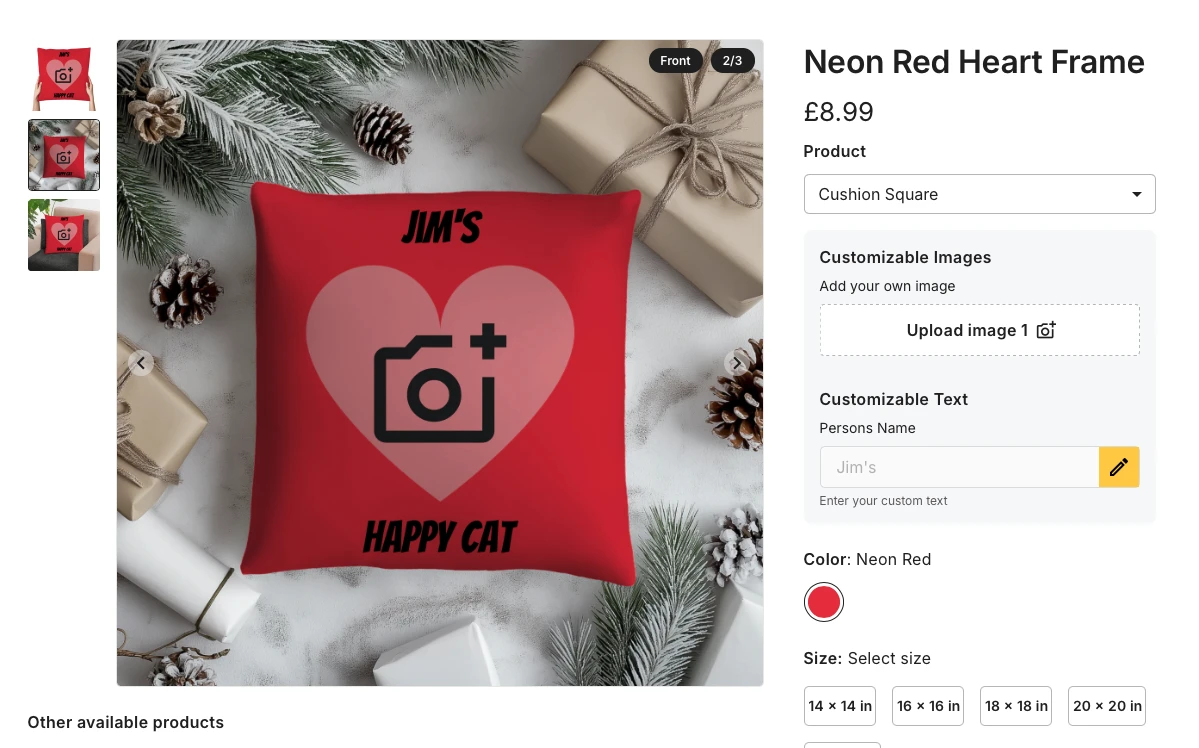
Once you have completed this tutorial, you will have a product similar to this. You can experiment with this on our demo store.
To start building your new product, click Add Campaign (00:16)
Enter a name for your campaign, and click Add Products (00:19)
Expand the homeware icon, and go to cushions and pillows, select the Square Polyester Cushion, and click start designing. (00:34)
Add an Image Layer. Upload your mask / frame, and choose this image (00:48)
Resize this image to ensure it covers the part of the product you want it to cover. (01:00)
Add another layer, choose Custom Image Layer (01:012)
Resize the custom image placeholder so that it is smaller than the mask (01:36)
Add a new layer and select Custom Text Layer, resize the custom text layer, and place it where you want to place it. Change the font to the font you want to use, create a prompt for the buyers, and add a placeholder pice of text. (02:33)
Set the base colour of the product you are designing for to match the colour of the mask you are building with. In this case neon red. Remember to deselect the white. (03:20)
Ensure the custom image is behind the mask / frame, by dragging it to the bottom of the list of layers (03:43)
To add another cushion of the same style but in a different colour, click on Add Products (04:02)
Click on the same product again, and click Add Products.
To apply the design from your first product to this new product. Click on your first product, and click Apply Design To All Products. Select Apply design to all blank products, and click Apply Design. (4:18)
Delete the red mask, add another new layer, then choose the new mask you want to apply. (04:37)
Resize this new layer to ensure it covers the part of the product you wish it to cover. (05:00)
Continue to pricing, and set your pricing. (05:43)
Continue to review (05:55)
Select your mockups for each product (05:58)
Save and continue (06:28)
Publish Changes to finalize the changes, and make the product appear on your store (06:38)
Go to your store, find your new product, and test personalizing it. (06:54)
Your product is ready to be sold.
